Make your own

Un texte de Katy Warnock
Paru dans le numéro Hiver/Winter 2017
Publié le : 20 novembre 2017
Dernière mise à jour : 3 novembre 2020
[WINTER 2017-2018 ] By Katy Warnock There is nothing quite like receiving a handmade gift. Here’s an idea that can demonstrate how much you care with time taken as opposed to money spent – an atmospheric addition to a living space, work table or bedroom. Here’s what you need: A block of wood –…
[WINTER 2017-2018 ]
By Katy Warnock
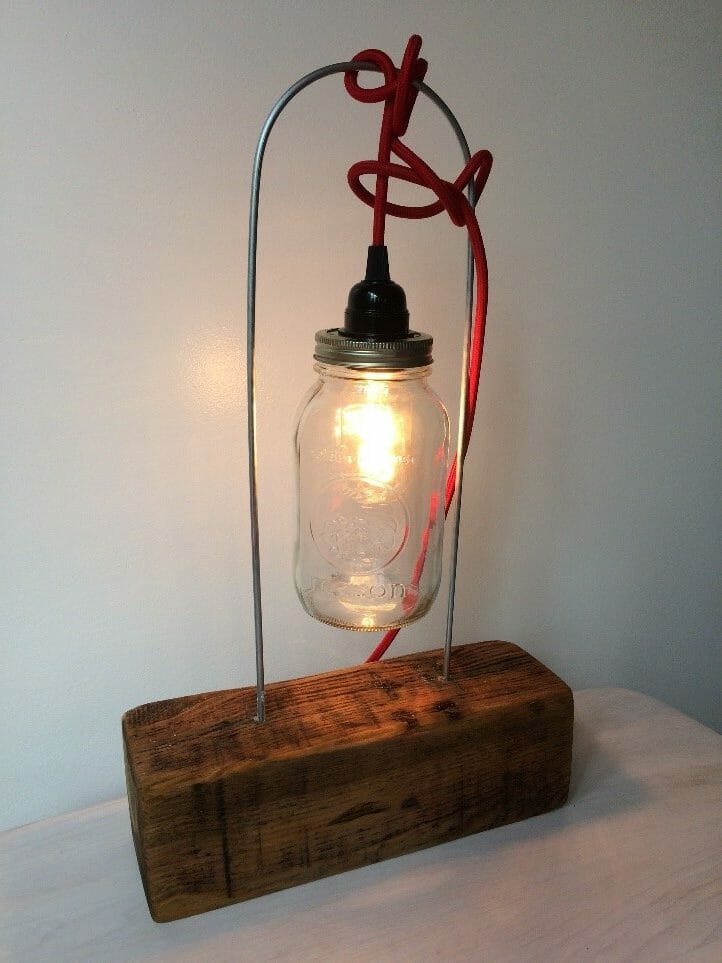
There is nothing quite like receiving a handmade gift. Here’s an idea that can demonstrate how much you care with time taken as opposed to money spent – an atmospheric addition to a living space, work table or bedroom.
Here’s what you need:
A block of wood – (shown is a 4’’ x 4’’ x 12’’ piece of hemlock (pruche). If you can’t find anything in your backyard, ask a neighbour or our local lumber yards who have offcut bins they might let you dip into for a smile. A piece of firewood would work too with the split side facing down for stability.
A 3’ length of steel rod – sold in this length. Mine cost $2.09 at my local hardware store. 3/16” width is perfect – strong enough but not too tricky to bend.
A pendant lightbulb cord -Vert Partout in Sutton sells variations for about $40. Mason jar as shown. Local hardware stores also have a range.
Safety gear – gloves and glasses
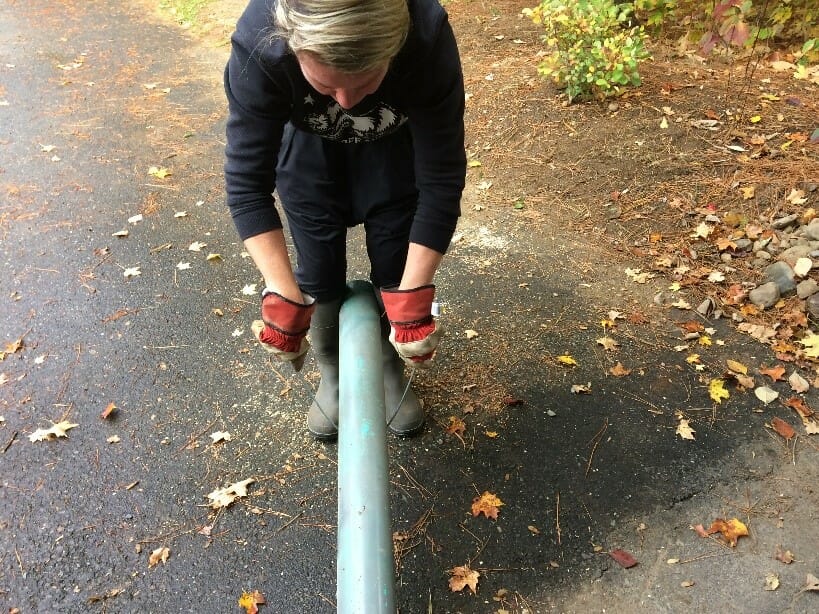
Start with a steel rod. Look around your house or your neighbour’s garage for a large pipe to wrap it around (mine was a 5’’ PVC pipe). Otherwise, a very evenly cylindrical tree trunk will do the same job! With a pair of gloves and glasses, keep wrapping it around the pipe until it relaxes back into a U shape when not under tension.
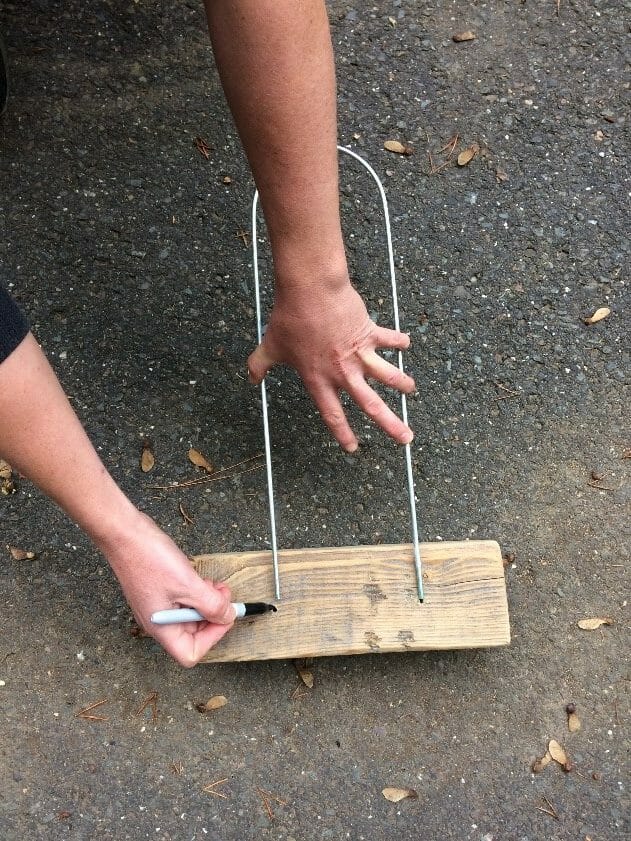
Depending on the size of the pipe used for wrapping, you will get a different measurement. Hold the ends of the U over the wood base and mark where you would like the holes to go. Select a drill bit the same size of the steel rod (3/16”) and drill in as deep as you can.
Because the hole is exactly the same size as the rod, you’ll need a lot of pressure to force the wire into the holes where it will remain secure without any glue. If your drill bit is a bit bigger than the width of the wire, a tiny bit of superglue in the holes will hold the wire securely.
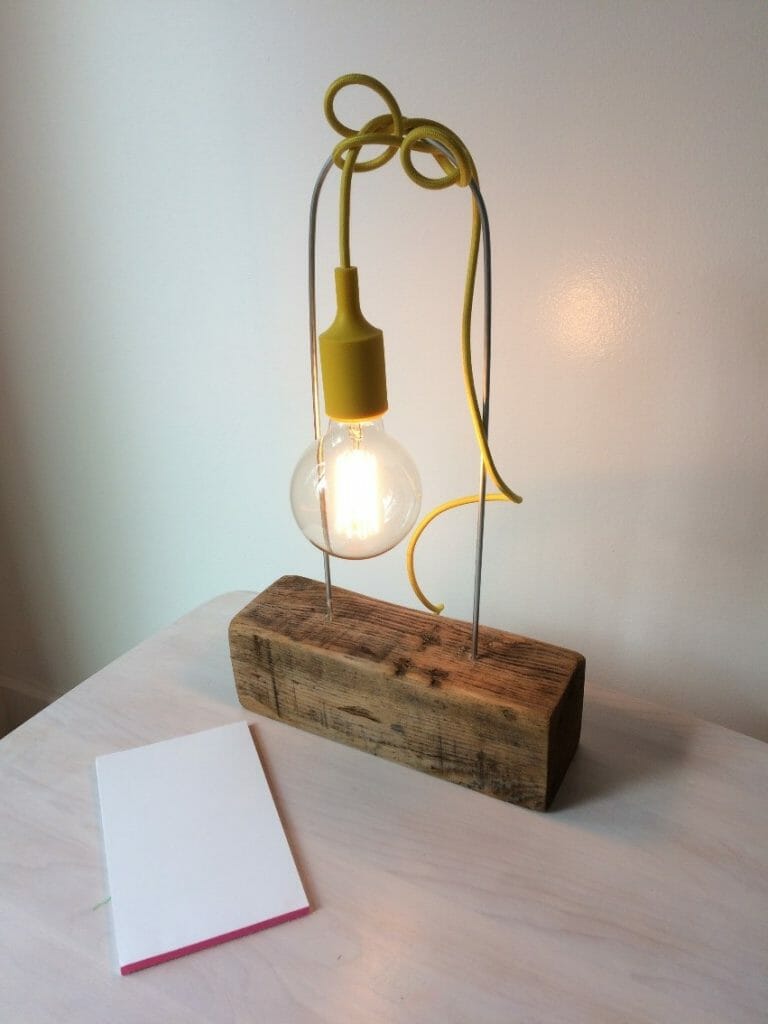
Your lampstand is complete. Now wrap the cord as you like it – the messier the better! A little bit of patience and you have organised chaos with the cord balanced in the centre. A little zip/cable tie discreetly added will help with a heavier lamp. Have fun. Paint the block of wood and sand it back for the look of salvaged boat lumber.
The greatest challenge with this gift is how to wrap it.


